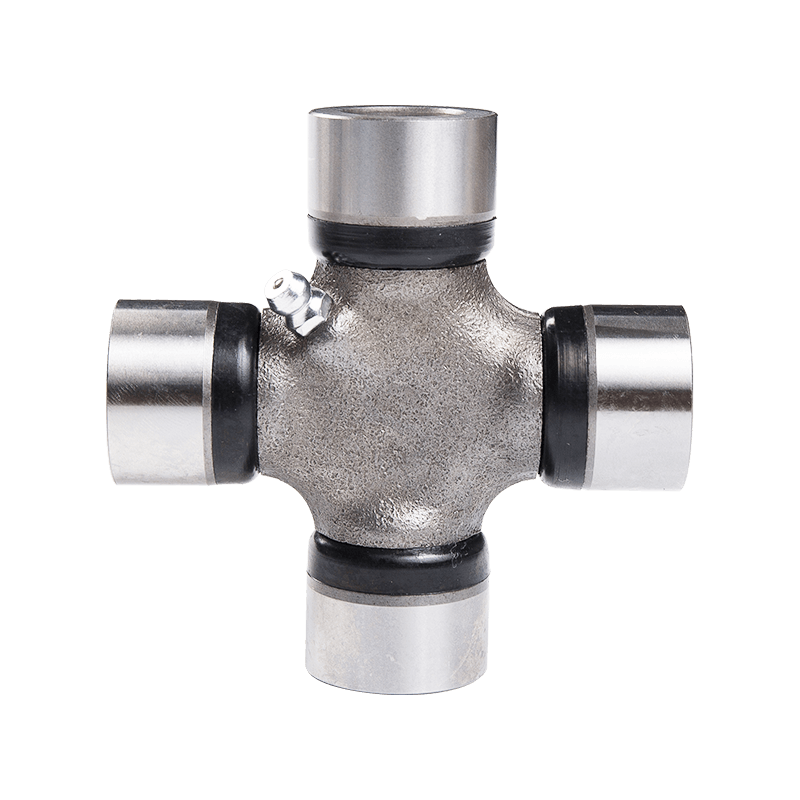
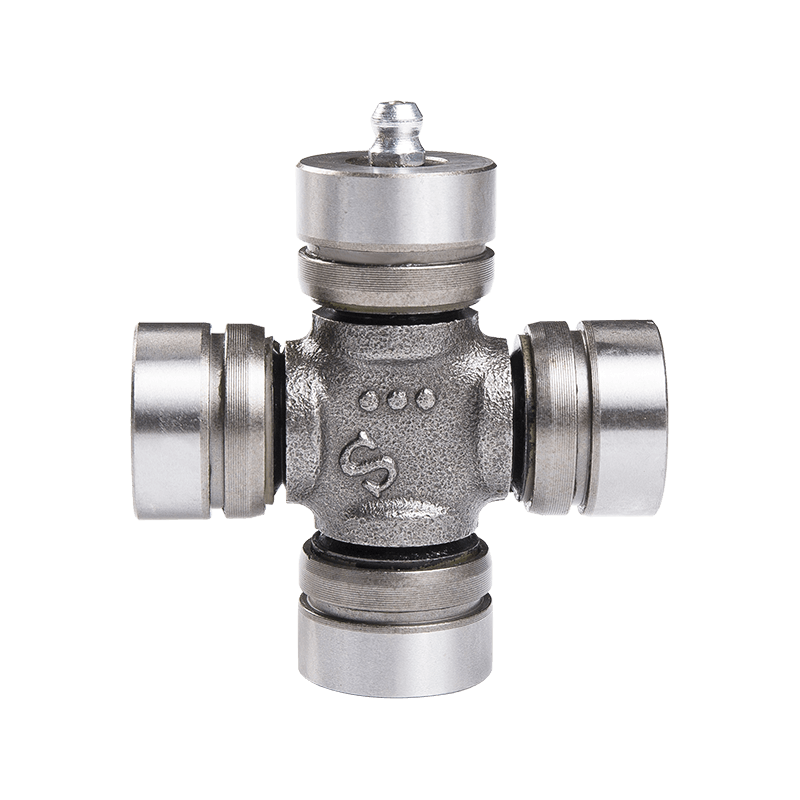
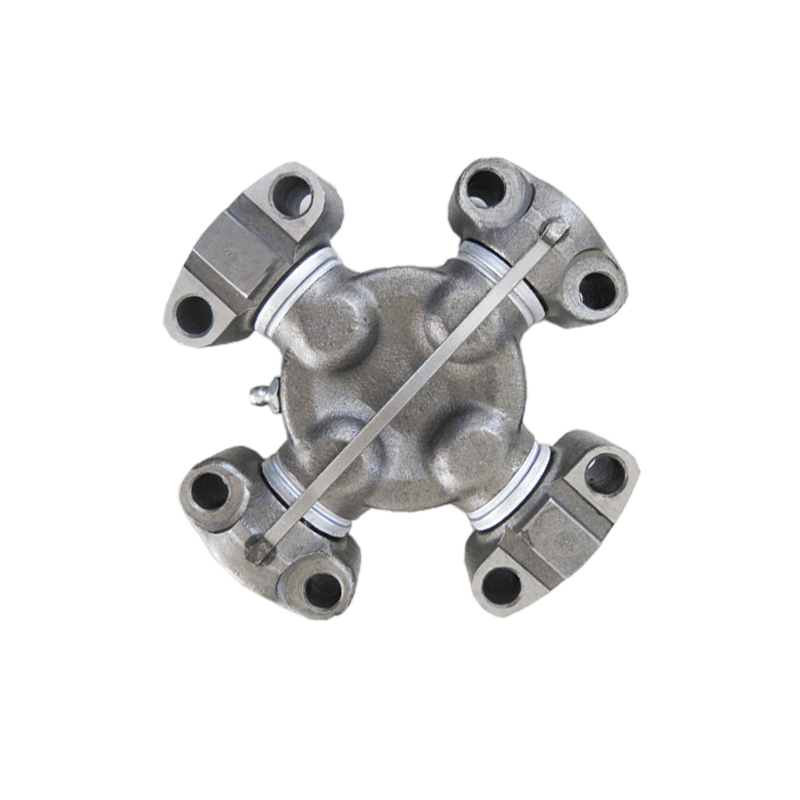
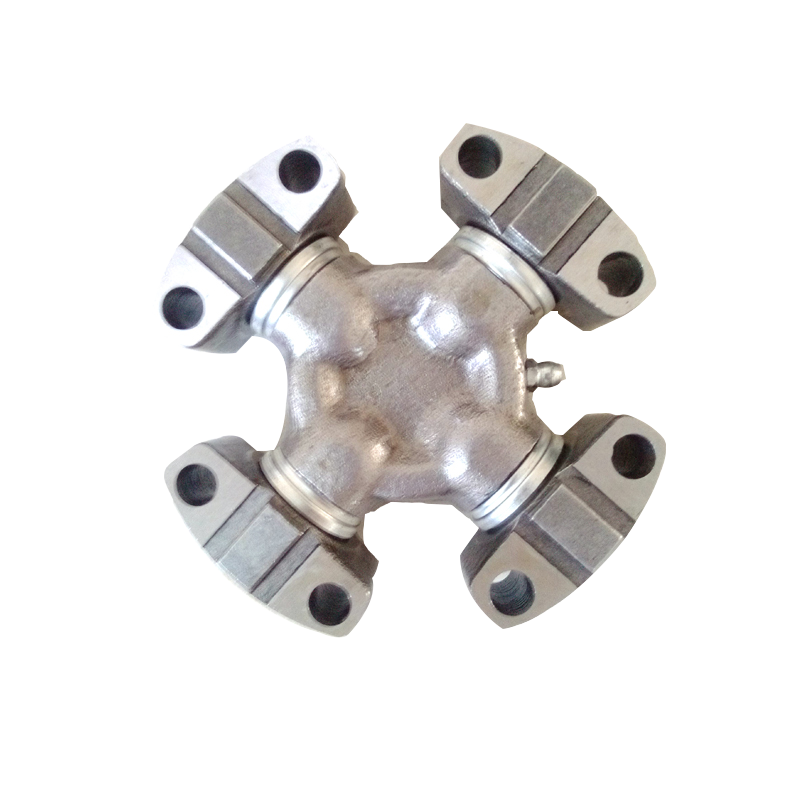
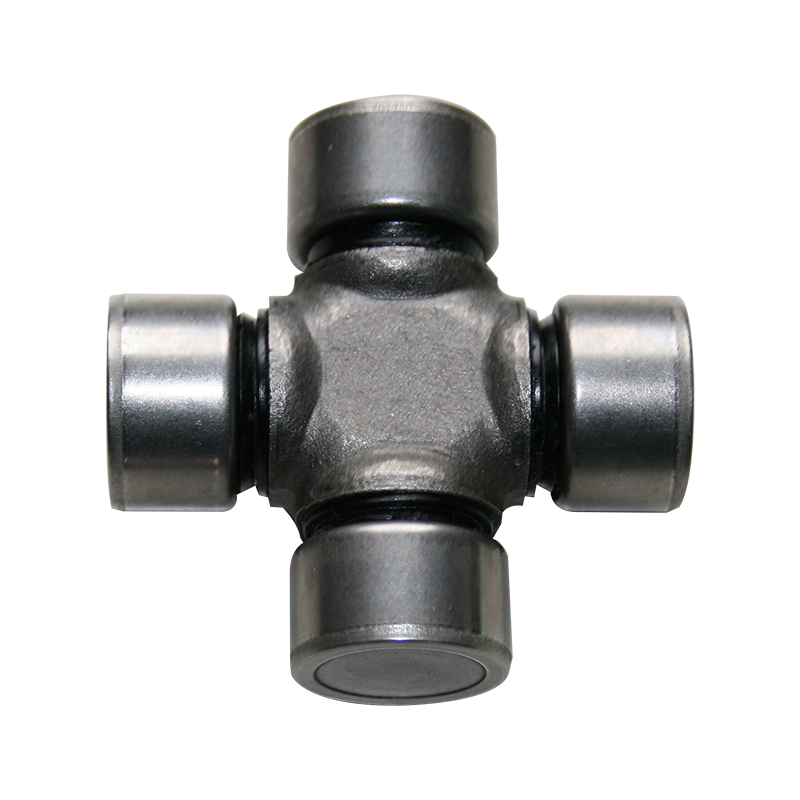
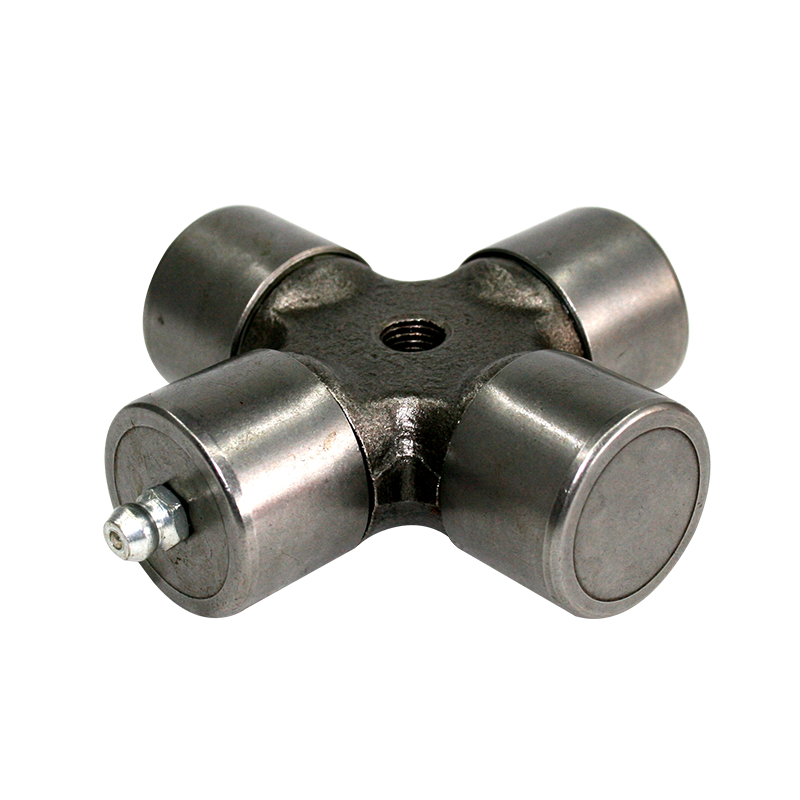
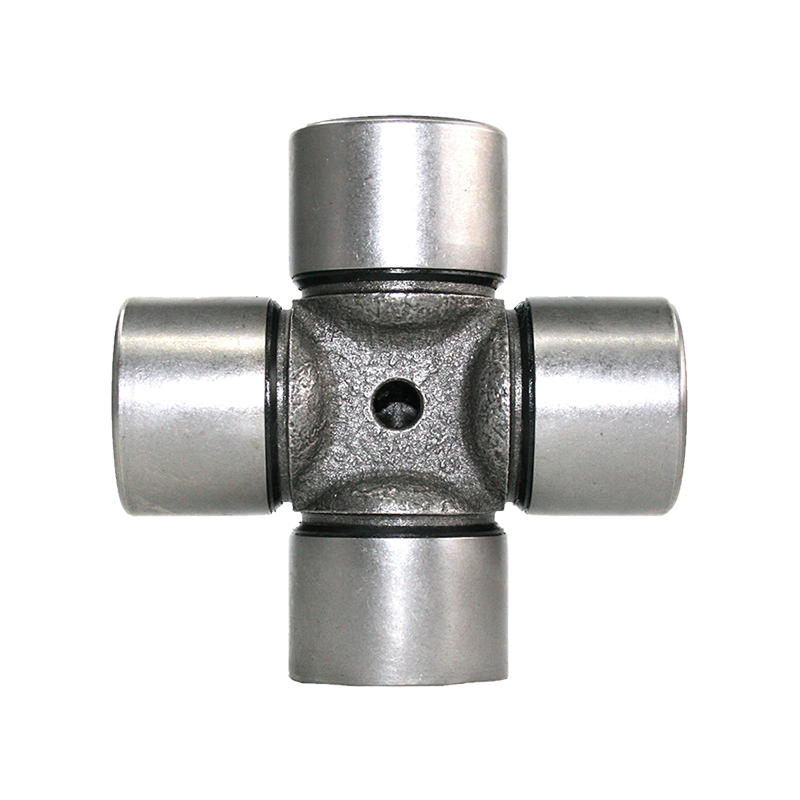
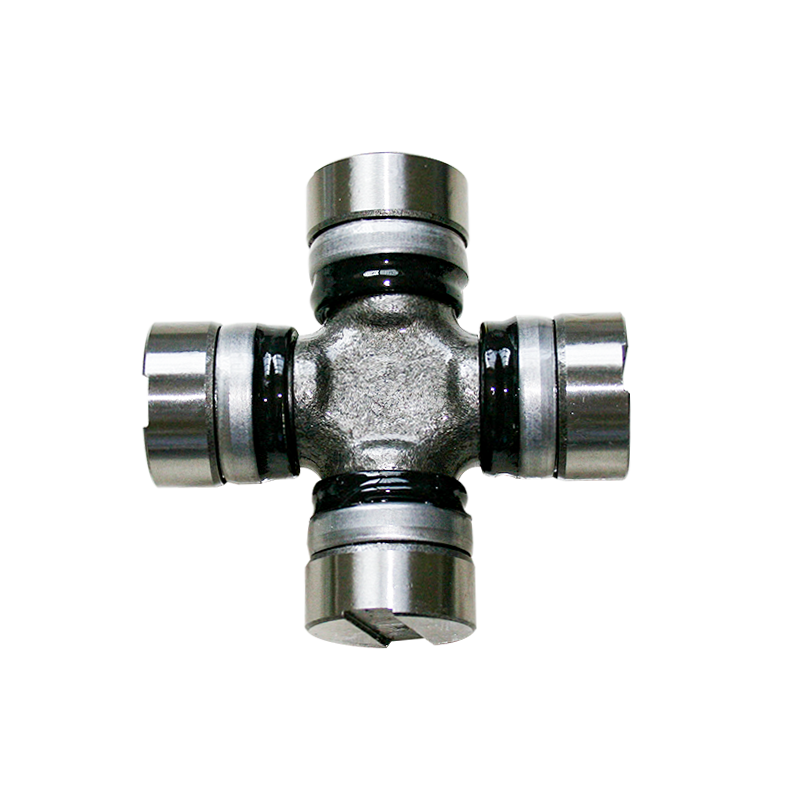
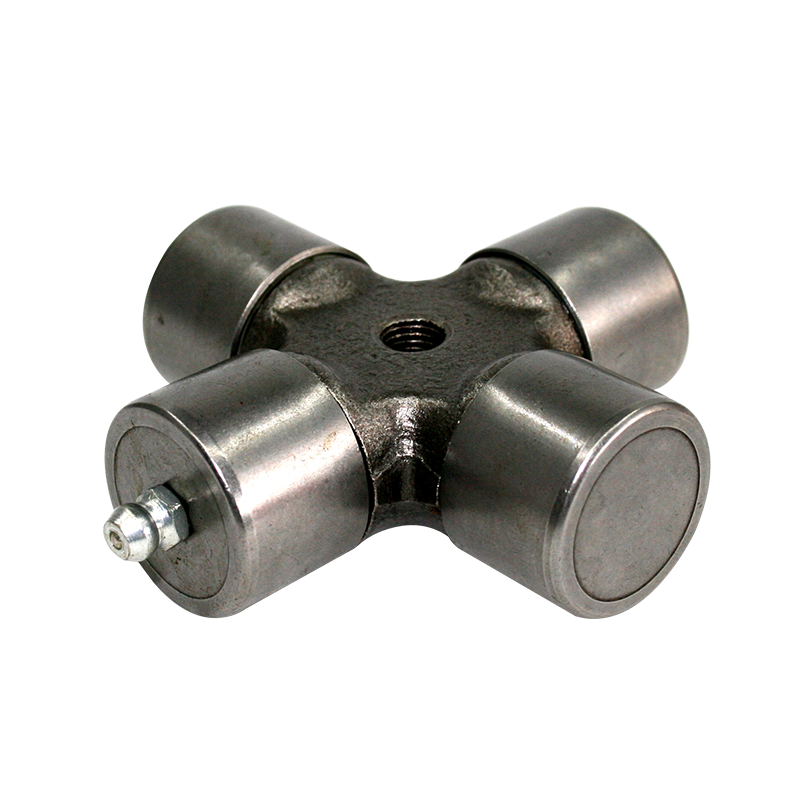
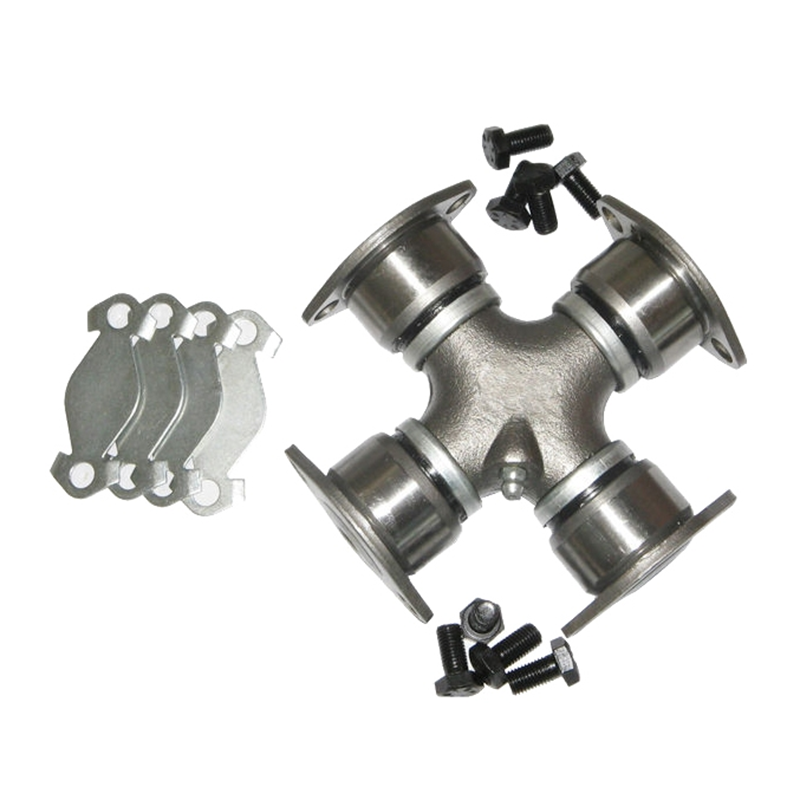
The ST1638 universal joint is designed to enhance the steering systems of two-wheel vehicles, offering efficiency and maintenance-free operation. Installing this component requires a careful approach and the right tools to ensure proper functionality and safety. Here’s a detailed guide on what you'll need and the expertise required for a successful installation:
Tools Required:
Socket Set and Wrenches:
These are essential for removing and tightening bolts and nuts securing the old universal joint and installing the ST1638. Different socket sizes may be necessary depending on the vehicle’s specifications.
Torque Wrench:
A torque wrench is crucial for tightening bolts to the manufacturer's recommended specifications. This ensures that fasteners are securely in place without the risk of over-tightening, which can damage components.
Pliers:
Useful for handling small components like retaining clips or for securing certain types of fasteners during installation.
Screwdrivers:
Both flat-head and Phillips-head screwdrivers may be needed to remove and install screws or other fasteners holding panels or covers in place.
Grease:
Depending on the design of the ST1638 universal joint, you may need grease for lubricating parts during installation. This ensures smooth operation and longevity of the joint.
Safety Equipment:
Safety gloves and eye protection are recommended to protect yourself from dirt, grease, and any potential hazards while working under the vehicle.
Expertise Required:
Mechanical Knowledge:
Basic mechanical understanding is essential, including how to safely lift and secure a vehicle. This knowledge helps in accessing the steering linkage where the universal joint is installed.
Technical Understanding:
Familiarity with reading and following installation instructions provided by the manufacturer is necessary. This includes understanding torque specifications for tightening bolts to the correct settings.
Attention to Detail:
Precise alignment and installation of the ST1638 universal joint are critical. Attention to detail ensures that the joint functions smoothly and without any issues such as binding or misalignment.
Installation Steps:
Step 1: Prepare the Vehicle
Park the vehicle on a flat surface and engage the parking brake. If necessary, use jack stands to safely raise the front end of the vehicle.
Step 2: Access the Steering System
Locate the existing universal joint within the steering linkage. This may involve removing panels or covers to access the joint.Step 3: Remove the Old Universal Joint
Using the appropriate tools, carefully remove any bolts or clips securing the old universal joint to the steering linkage. Keep track of these fasteners for reassembly.
Step 4: Install the ST1638 universal joint
Position the ST1638 universal joint in place, ensuring it aligns correctly with the steering linkage. Secure the new joint using the bolts or clips provided.
Step 5: Tighten Fasteners
Use a torque wrench to tighten the bolts according to the manufacturer's specifications. This step is crucial for ensuring the universal joint is securely fastened without the risk of loosening or damage.
Step 6: Test the Installation
Before lowering the vehicle, manually turn the steering wheel to check for smooth operation of the universal joint. Ensure there are no unusual noises or resistance indicating misalignment.
Step 7: Lower the Vehicle and Final Checks
Carefully lower the vehicle from the jack stands once you're confident the installation is correct. Double-check all connections and fasteners to ensure everything is secure and properly installed.

 English
 Español
 中文简体
中文简体




Contact Us